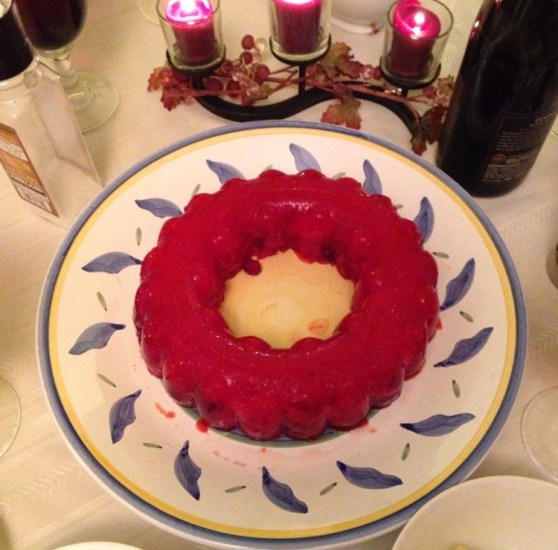
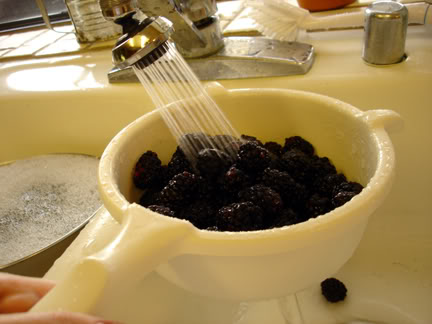
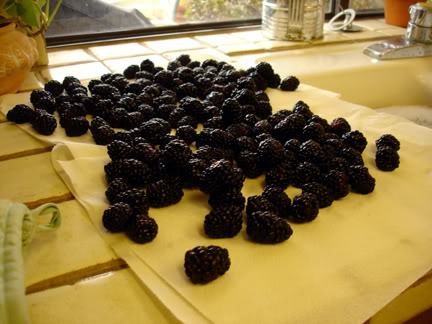
I apologize for neglecting this blog for so long, but considering the holidays are upon us I thought it best to at least post a few of my favorite recipes for Thanksgiving/Christmas. Boysenberry pie is one such recipe. When I was a child we always seemed to have boysenberries growing in the backyard wherever we lived at the time so boysenberries were omnipresent at our house. If you are considering planting them in your yard, I highly recommend it. They don’t take a ton of maintenance and you should get at least some fruit after about a year. Sadly, boysenberries are in short supply in the autumn/winter so unless you have done a very good job freezing your previous harvests, you may be stuck paying a fortune for fresh berries out of season. I do not recommend using frozen berries you have bought at the super market. Your pie will be very soupy and the fruit may turn to mush. A few years ago I asked my mom for her recipe for boysenberry pie and shockingly she said she had never written one down. She had been pulling from various recipes all these years. I decided I should come up with a recipe that worked every time and actually write it down. If you can’t find boysenberries you can substitute blackberries and I dare anyone to notice. Costco usually has good prices of berries in bulk, and you will need a lot of them. I apologize for the poor photo quality, but I took these photos years ago on a whim.
Makes 1-9inch pie | oven temp: 350°F pre-heated; then 450°F
4 – 5 cups Boysenberries, rinsed and drained
2 tbsp. fresh lemon juice
1 cup white sugar
2 tbsp. corn starch
¼ cup flour
1 tsp. cinnamon
1 double pie crust, rolled out (I use the Crisco pie crust recipe and it works great every time. Double the single crust recipe to give you more dough to work with to make rolling out easier)
2 tbsp. butter, for dotting
- Rinse, drain and dry the berries well


- In a small bowl combine sugar, corn starch, flour and cinnamon
- In a large bowl, toss lemon juice with berries
- Sprinkle sugar and flour mixture over berries and stir to coat
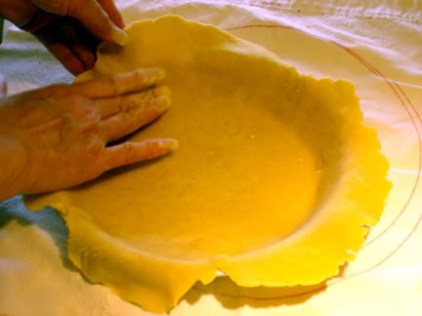
- Press one of the rolled out pie crusts into a 9 in. pie tin, being careful not to stretch the dough out
- Spoon filling into pie tin lined with pie crust (you should have A LOT of filling. If it seems like you have too much filling then you have done it right. If you only fill the pie with berries up to the edge of the pie tin you will end up with something resembling a berry fritata, and who wants that).
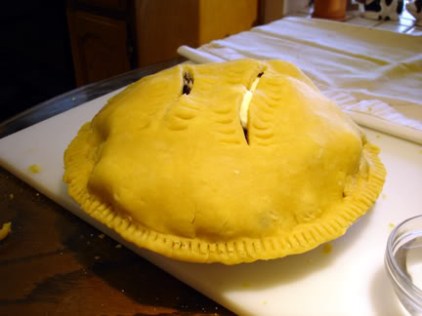
- Dot top of filling with butter before placing top crust on. Then tuck the pie crust under and crimp the edges in your favorite style so the minimum amount of filling spills out. Make sure to cut vents in the top of your crust. You can do this before putting it on the pie or after using a butter knife. Your pie should look like this at this point, if not larger:
- Bake in a 350°F oven for about an hour, or until filling it bubbling, and turn up temperature to 450°F for the last 10 minutes.
Tip: Line edge of crust with foil to prevent burning. Place oven liner in bottom of oven to catch spillage.
Here is the final product:

Notice how much it shrunk down after baking. As you can see, the crust is a little thin in parts and that was because we tried the “butter” flavored Crisco on this particular pie and it did not go well. I really recommend sticking to a plain vegetable shortening. If you have had a problem with runny or watery pies just bake the pie one day before you plan to serve it. Letting it sit will allow it to thicken. If I make this pie again over the holidays I will take some better photos.