Butternut Squash Soup

Image

I really like making soup, but the weather has been so warm recently that I haven’t been able to bring myself to make any. Last weekend it finally started to cool down (and then quickly warmed up again, but that’s another story), and I was getting over a cold so I decided to make butternut squash soup for the first time. The hardest part about this soup is preparing the squash. You will need a very sharp knife and a good vegetable peeler in order to avoid a huge mess. Also, make sure the squash you pick does not have any cracks or bruises. When I went to buy the squash on a Friday night I was in a hurry and didn’t check the squash. When I got it home I realized there were two big cracks in it so I had to drive back to Gelson’s and attempt to exchange it with another one, which was a bit of a hassle.

Recipe:

2 Tbsp. olive oil

1 medium brown onion, diced

1 butternut squash, peeled, seeded and cut into cubes (the one I used was 3.5 lbs.) – details below

3 cloves garlic, minced

3/4 cup dry white wine

4-5 cups vegetable stock (or enough to completely cover the squash in the pot)

1 sprig fresh thyme

salt & pepper to taste

Image

I started off with just peeling the entire squash before cutting it apart. Some tutorials say to cut the squash first and then peel, but peeling was really not that difficult when I used the type of peeler pictured. When peeling the squash, it got super slimy so I held on to it with paper towels.

Image

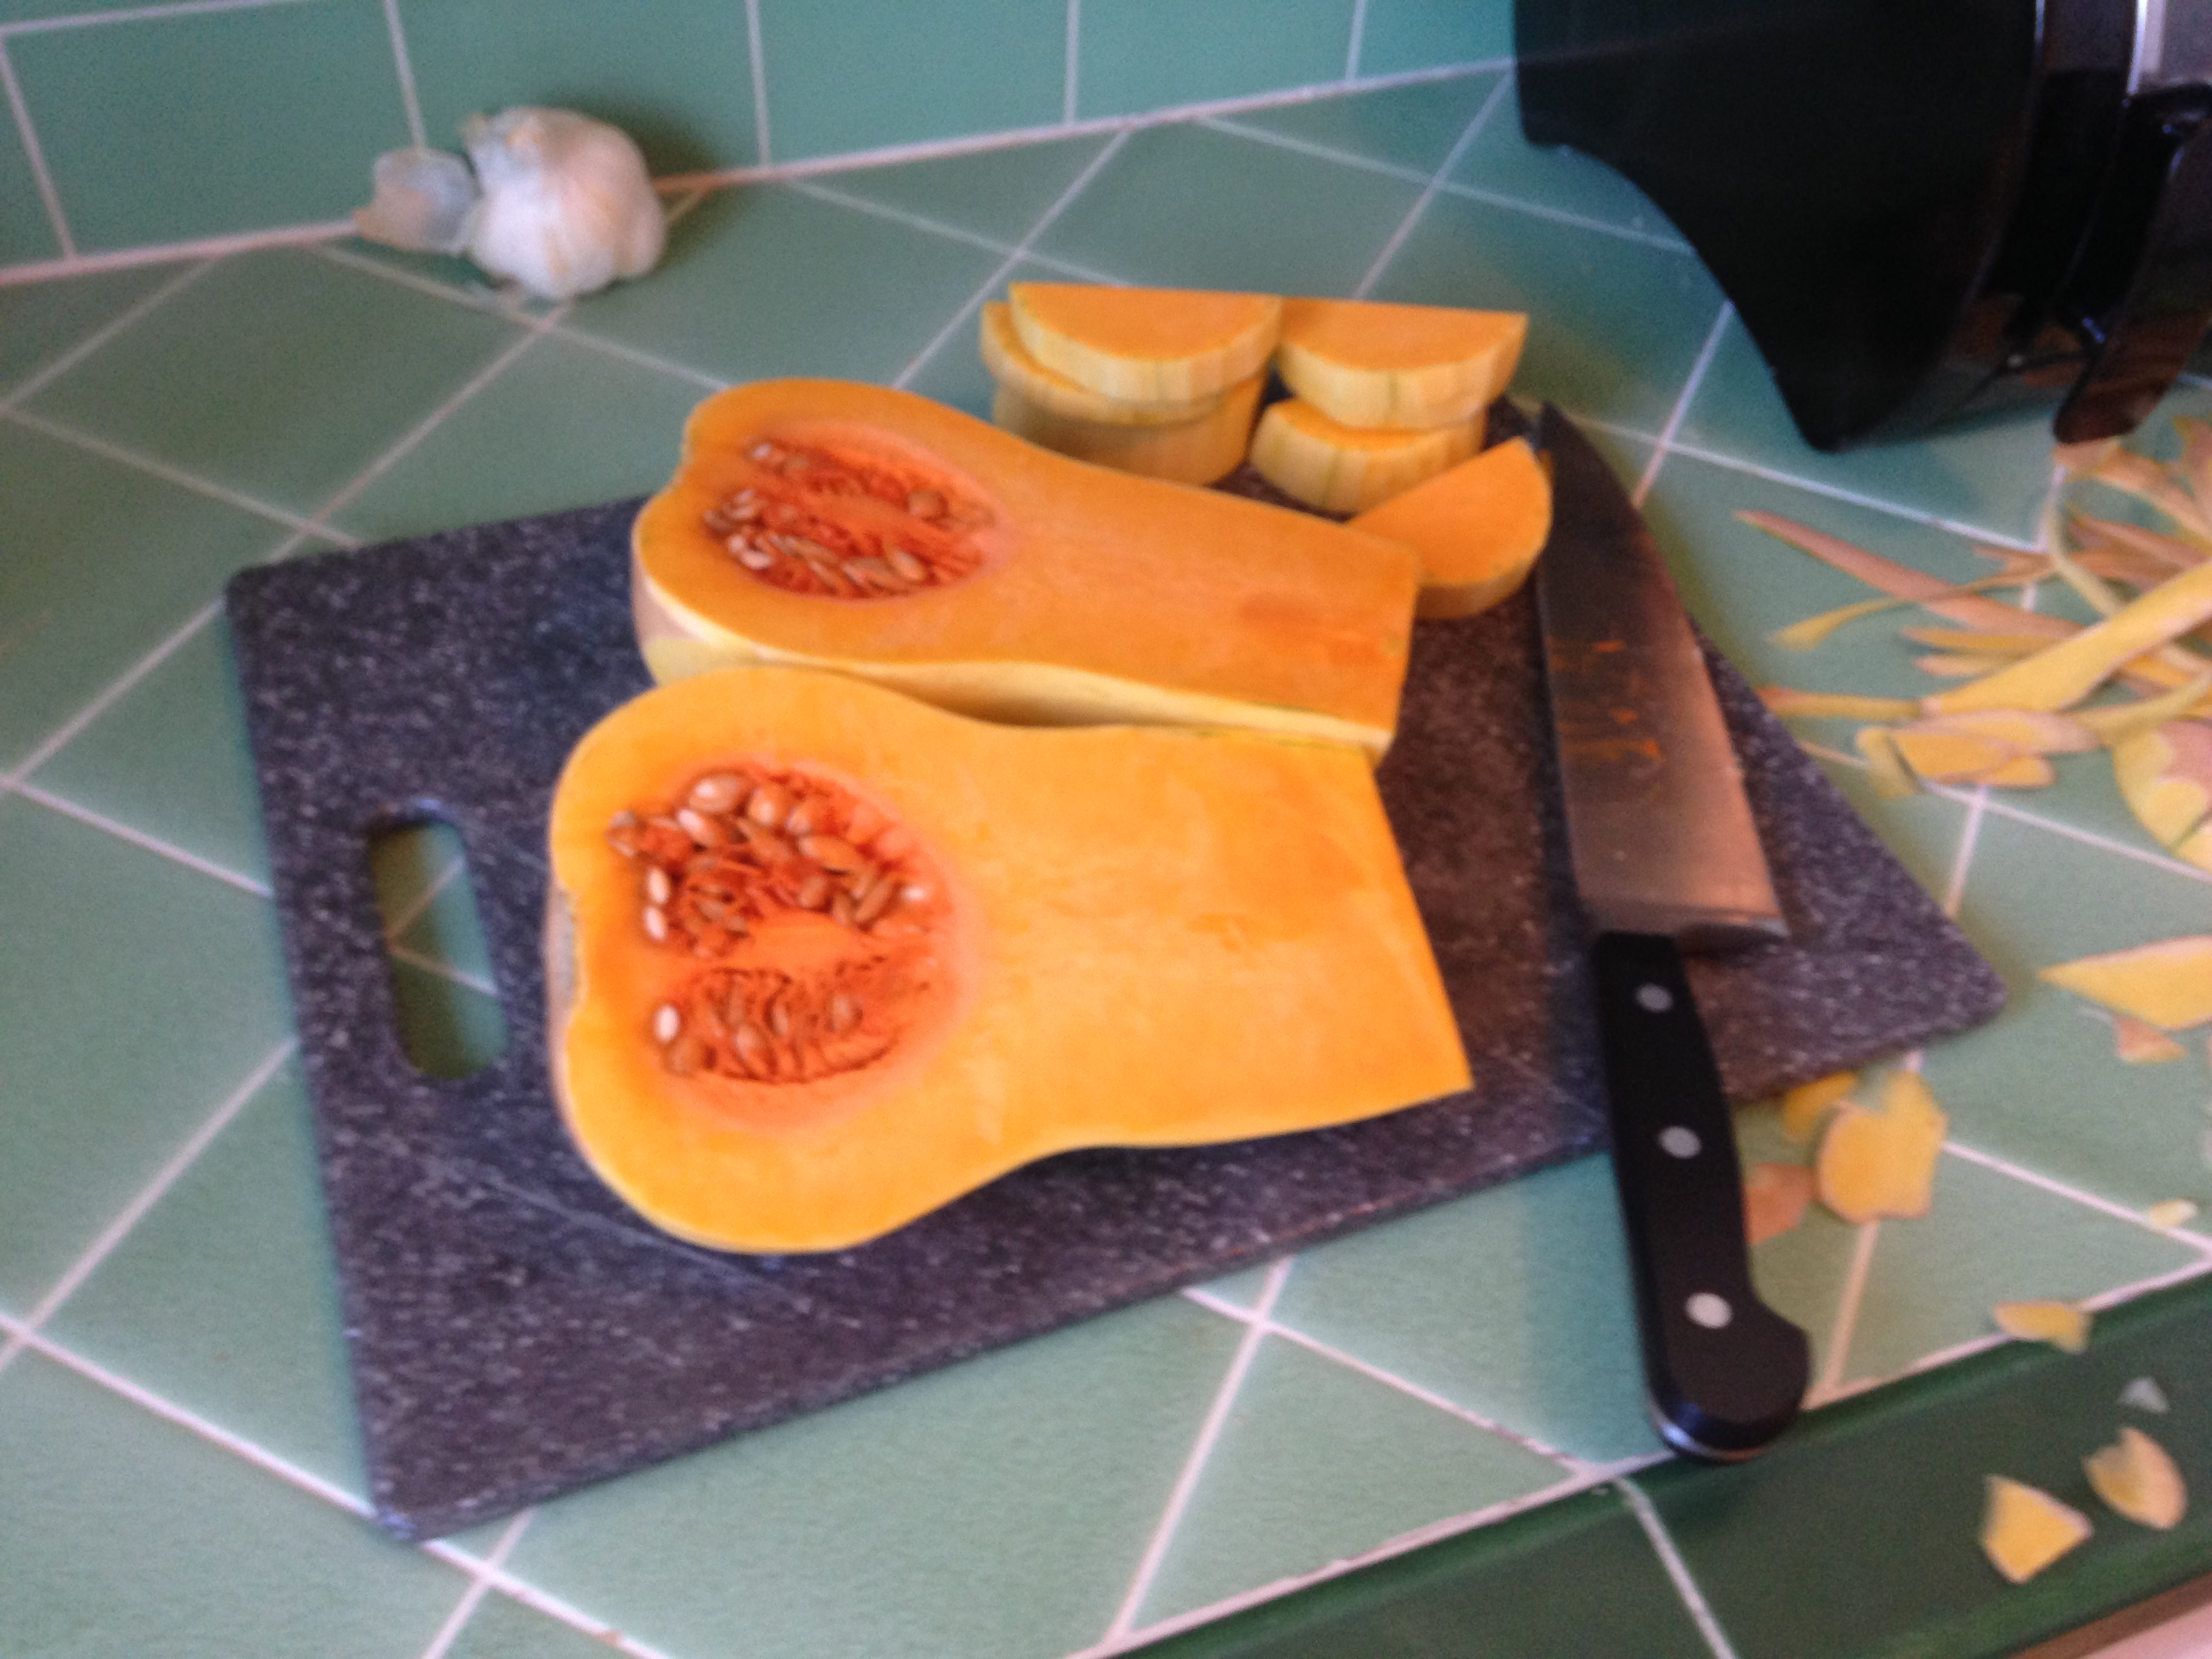
Even though I sharpened my knife right before embarking on this endeavor, I found it was super difficult to cut the squash lengthwise without first cutting slices off the top. Once I got it to this state I scooped out the seeds with a spoon, just like you would when carving a pumpkin, and cut the squash into slices, and then cubes.

Once you have prepared the squash, saute the diced onion in the olive oil in a large stock pot until slightly soft (about 2-3 minutes). Then add the cubed squash and minced garlic and continue to saute until the onions are translucent (about another 3-4 minutes). You can add some salt and pepper at this point if desired. Then pour in the wine and cook, stirring occasionally, until at least half the liquid has evaporated. Add the thyme enough vegetable stock (or a mixture of stock and water) to completely cover the squash in the stock pot:

Image

Bring to a boil and simmer, uncovered until the squash is fork tender (about 20-25 minutes). Remove the soup from heat and use an immersion blender to blend the soup until you reach the desired texture (remember to remove the thyme sprig before doing this). My soup was a bit thicker than I wanted so I just added a little bit of water until I got the right consistency. At this point, check for seasoning and season with salt and pepper if needed. If your stock was particularly salty you may not have to do much seasoning. If you don’t have an immersion blender you can blend the soup in batches in a regular blender or a food processor, but the immersion blender I have was very inexpensive and is way easier to clean than a regular blender or food processor. If you make soup, smoothies, or sauces on a semi-regular basis it is a good buy. I served my soup with a piece of bread that had been brushed with some olive oil and then toasted, which was very tasty.

Advertisement

Perfect Boysenberry Pie

I apologize for neglecting this blog for so long, but considering the holidays are upon us I thought it best to at least post a few of my favorite recipes for Thanksgiving/Christmas. Boysenberry pie is one such recipe. When I was a child we always seemed to have boysenberries growing in the backyard wherever we lived at the time so boysenberries were omnipresent at our house. If you are considering planting them in your yard, I highly recommend it. They don’t take a ton of maintenance and you should get at least some fruit after about a year. Sadly, boysenberries are in short supply in the autumn/winter so unless you have done a very good job freezing your previous harvests, you may be stuck paying a fortune for fresh berries out of season. I do not recommend using frozen berries you have bought at the super market. Your pie will be very soupy and the fruit may turn to mush. A few years ago I asked my mom for her recipe for boysenberry pie and shockingly she said she had never written one down. She had been pulling from various recipes all these years. I decided I should come up with a recipe that worked every time and actually write it down. If you can’t find boysenberries you can substitute blackberries and I dare anyone to notice. Costco usually has good prices of berries in bulk, and you will need a lot of them. I apologize for the poor photo quality, but I took these photos years ago on a whim.


Makes 1-9inch pie | oven temp: 350°F pre-heated; then 450°F

4 – 5 cups Boysenberries, rinsed and drained

2 tbsp. fresh lemon juice

1 cup white sugar

2 tbsp. corn starch

¼ cup flour

1 tsp. cinnamon

1 double pie crust, rolled out (I use the Crisco pie crust recipe and it works great every time. Double the single crust recipe to give you more dough to work with to make rolling out easier)

2 tbsp. butter, for dotting


  • Rinse, drain and dry the berries well

Image

Image

  • In a small bowl combine sugar, corn starch, flour and cinnamon
  • In a large bowl, toss lemon juice with berries
  • Sprinkle sugar and flour mixture over berries and stir to coat
  • Press one of the rolled out pie crusts into a 9 in. pie tin, being careful not to stretch the dough outImage
  • Spoon filling into pie tin lined with pie crust (you should have A LOT of filling. If it seems like you have too much filling then you have done it right. If you only fill the pie with berries up to the edge of the pie tin you will end up with something resembling a berry fritata, and who wants that).
  • Dot top of filling with butter before placing top crust on. Then tuck the pie crust under and crimp the edges in your favorite style so the minimum amount of filling spills out. Make sure to cut vents in the top of your crust. You can do this before putting it on the pie or after using a butter knife. Your pie should look like this at this point, if not larger:
    Image
  • Bake in a 350°F oven for about an hour, or until filling it bubbling, and turn up temperature to 450°F for the last 10 minutes.

Tip: Line edge of crust with foil to prevent burning. Place oven liner in bottom of oven to catch spillage.

Here is the final product:

Image

Notice how much it shrunk down after baking. As you can see, the crust is a little thin in parts and that was because we tried the “butter” flavored Crisco on this particular pie and it did not go well. I really recommend sticking to a plain vegetable shortening. If you have had a problem with runny or watery pies just bake the pie one day before you plan to serve it. Letting it sit will allow it to thicken. If I make this pie again over the holidays I will take some better photos.